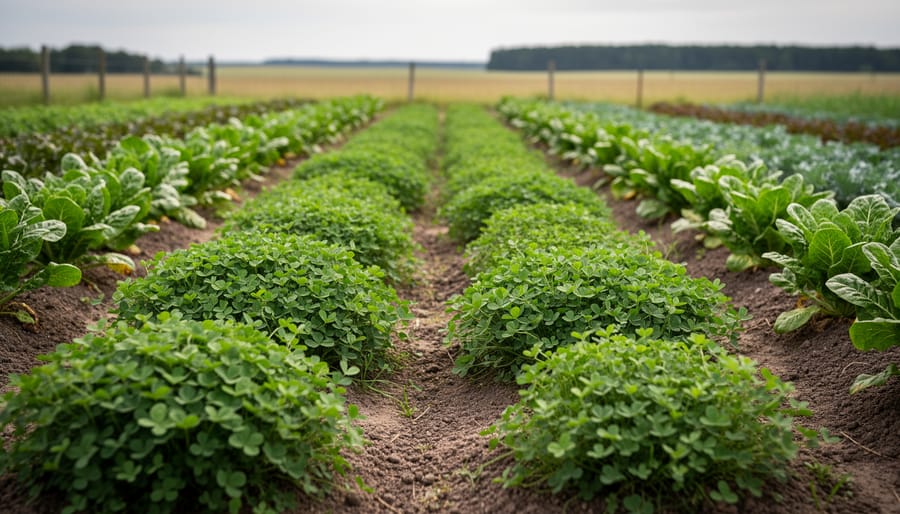
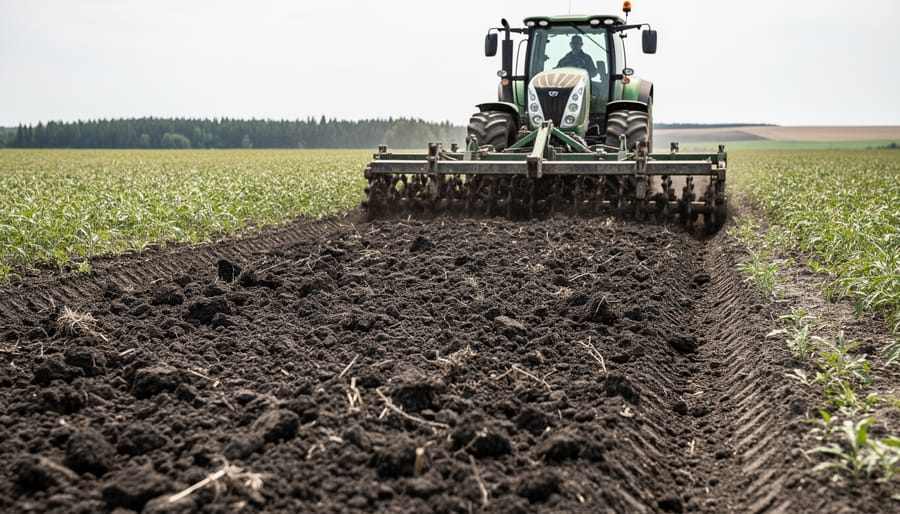
Soil compaction treatment restores productivity by breaking up hardpan layers, reintroducing oxygen to the root zone, and rebuilding soil structure through a combination of mechanical intervention and biological recovery. Alberta farmers tackling compaction can expect the process to span two growing seasons: one for initial remediation and verification, and another for monitoring and prevention measures. Success depends on timing your intervention when soil moisture sits between field capacity and permanent wilting point, selecting the right mechanical tools for your specific soil type and compaction depth, and following up with cover crops that prevent the problem from returning.
Compacted soil costs Canadian farms millions in lost yield each year. When heavy equipment, repeated tillage at the same depth, or livestock traffic compress soil particles, pore space disappears. Water can’t infiltrate. Roots can’t penetrate. Beneficial soil organisms struggle to survive. You’ll see the symptoms in poor germination, shallow root systems, and ponding after rain, but the damage runs deeper than what’s visible at the surface.
The good news? Compaction is reversible when you address both the symptom and the cause. Mechanical treatments like deep ripping or zone tillage provide immediate relief by fracturing compacted layers, but they’re only half the solution. Biological approaches using deep-rooted cover crops and increased organic matter create lasting change by rebuilding soil structure from within. Farmers who combine both methods report measurable improvements in infiltration rates, root depth, and yield within two years, and those results hold when paired with traffic management and reduced tillage practices going forward.
Understanding When Your Soil Needs Treatment
Knowing when to intervene is crucial for effective compaction management. Many farmers delay treatment because they misread early warning signs or wait for problems to become severe. Recognizing symptoms early saves you time, money, and crop yield potential.
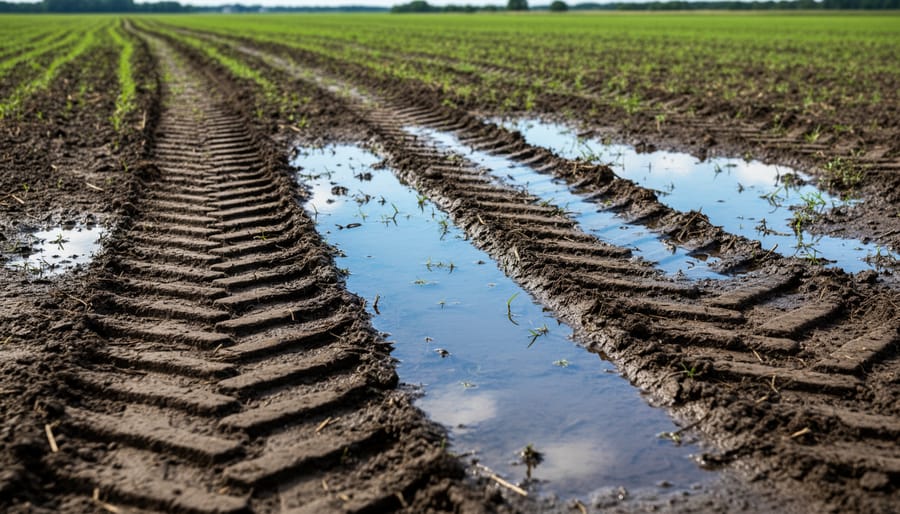
Start with your eyes and boots. Walk your fields after a heavy rain and look for areas where water ponds instead of draining within a day or two. These wet spots often mark compacted zones where water cannot infiltrate. Check emerging crops for uneven stands, patches with delayed emergence or stunted seedlings frequently sit above hardpan layers that roots cannot penetrate.
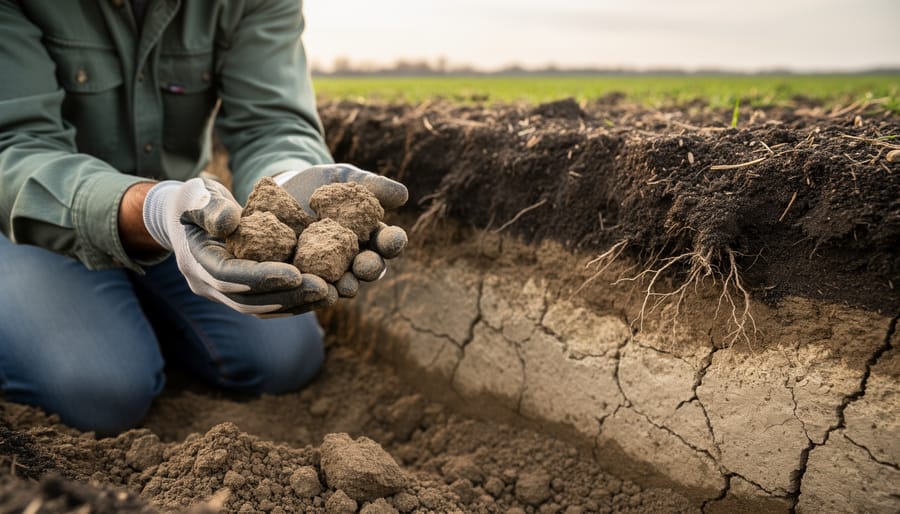
Dig a hole. The most revealing diagnostic tool costs nothing: a spade and 15 minutes of your time. Dig down 18 to 24 inches in suspected areas and examine the soil profile. Healthy soil crumbles easily in your hand and shows visible pore spaces. Compacted soil forms dense, blocky chunks that resist breaking apart. Look for a distinct transition layer where the soil suddenly becomes harder, that is your hardpan.
Common field symptoms that indicate treatment is needed:
- Standing water persisting 48 hours after rain in areas that previously drained well
- Crop roots growing horizontally along a hardpan instead of penetrating downward
- Soil that forms hard clods after tillage rather than breaking into granular structure
- Poor crop emergence patterns corresponding to wheel track locations
- Dense soil layers that require significant force to penetrate with a shovel or probe
- Reduced earthworm populations in affected zones compared to field edges
The penetration resistance test provides useful feedback. Push a smooth metal rod (a sharpened rebar works fine) into moist soil. Healthy soil offers consistent, moderate resistance. When you hit a compacted layer, penetration becomes noticeably harder or stops completely. Mark the depth where this occurs, that tells you how deep your treatment needs to reach.
Timing matters for accurate assessment. Test when soil moisture is at field capacity, typically a day or two after rain. Bone-dry soil reads as falsely compacted; saturated soil reads as falsely loose. Getting this right connects directly to the five principles of soil health that govern successful treatment and long-term prevention.
Tools and Equipment You’ll Need
You’ll need both mechanical equipment to break up compacted layers and biological tools to maintain the improvements over time. The right combination depends on your compaction severity, soil type, and whether you’re purchasing equipment or working with rental options.
For mechanical intervention, subsoilers and deep-rippers are your primary tools. Look for equipment with adjustable shanks that can work below your hardpan layer, typically deeper than standard tillage reaches. Chisel points work well for initial fracturing, while winged points create wider zones of loosened soil. If you’re considering purchase, talk with local dealers about shank spacing and frame strength appropriate for prairie soils. Many Alberta equipment dealers also offer seasonal rentals, which makes sense if you’re treating compaction on a portion of your acreage rather than farm-wide.
Aerators serve different purposes depending on design. Spike aerators work for lighter compaction in the upper soil profile, while core aerators remove plugs and allow better air and water movement. Some farmers use vertical tillage tools as a gentler alternative to aggressive ripping, especially when transitioning toward reduced tillage systems.
On the biological side, you’ll need cover crop seed selected for deep rooting characteristics. Daikon radish, forage radish, and certain brassicas excel at penetrating hardpan with their taproots. Legumes like hairy vetch add nitrogen while improving soil structure. Your local seed supplier can recommend mixes suitable for Alberta’s growing season and your treatment timing.
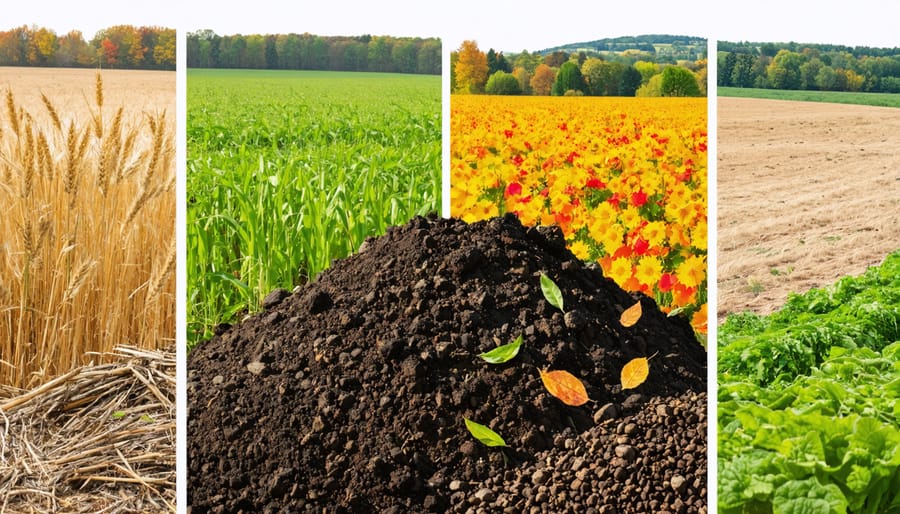
Organic amendments include compost, aged manure, and other carbon-rich materials that improve soil structure as microbes break them down. Source these locally when possible, many livestock operations have material available, and some municipalities offer composted biosolids. Quality matters more than quantity; well-aged compost with diverse particle sizes integrates better than raw or poorly composted material.
If you’re new to compaction treatment, consider renting equipment for your first season while you learn what works on your land. Local custom operators are another option, they bring both equipment and experience, letting you observe the process before investing.
Important Conditions and Safety Considerations
Treating soil compaction isn’t just about having the right equipment, it’s about choosing the right moment and working safely. Operating machinery when conditions are wrong can make compaction worse, waste fuel and time, and create hazards you didn’t anticipate.
Soil Moisture: The Critical Window
Your soil needs to be friable, meaning it crumbles easily when you squeeze a handful and doesn’t form a tight ball or smear across your palm. This typically occurs when soil has dried enough after rain or snowmelt but still retains some moisture for structural stability. Working too wet causes smearing and creates new compacted layers as equipment weight squeezes soil particles together. Working too dry produces clods that won’t break down naturally and can stress equipment as it tries to penetrate rock-hard ground.
Walk your field before bringing equipment in. Dig test holes in several locations to check moisture at the depth you plan to work. If you’re targeting deep compaction, surface conditions can be misleading, the hardpan layer below might still be saturated even when topsoil seems ready.
Equipment Safety Fundamentals
Deep-working implements create significant load and can behave unpredictably when they hit buried obstacles or variable soil layers. Before hitching any subsoiler or ripper, confirm your tractor has adequate weight and power for the implement size you’re using. An undersized tractor risks losing traction, rearing up, or suffering drivetrain damage.
Inspect three-point hitch pins, hydraulic hoses, and PTO connections before each operation. Worn or damaged components fail under heavy load, often at the worst possible moment. Keep bystanders well clear while operating, shanks can throw debris, and hydraulic lines under pressure can rupture.
Hidden Hazards Below Ground
Alberta farms often have buried irrigation lines, drainage tiles, power cables, or communication lines that won’t show on the surface. Contact your local one-call service before deep tillage, and walk the field to mark any known buried infrastructure with flags. Hitting a pressurized irrigation line or power cable creates immediate danger and expensive repairs.
When to Hold Off
Don’t proceed if forecasted rain will arrive before you finish, getting caught mid-field with wet soil defeats the entire purpose. Postpone treatment if soil is frozen, if wind makes operating safely difficult, or if you’re tired and rushing to beat darkness. Compaction treatment is an investment in your soil’s future; doing it right matters more than doing it fast.
Step-by-Step Treatment Process
Phase 1: Assessment and Planning
Start by walking your fields with a penetrometer or simply a metal rod to locate problem areas. Push the probe into the soil every 10 to 15 paces, paying attention to where it stops or requires significantly more force. Mark these spots with flags or GPS coordinates if you have them. Compacted zones rarely cover entire fields uniformly, you’ll often find them in headlands, approaches to gates, and areas where equipment consistently turns or where heavy loads traveled during wet conditions.
Once you’ve identified compacted areas, use a soil probe or dig test pits to determine how deep the hardpan layer extends. Most prairie soils show compaction between 6 and 18 inches down, though it varies depending on your management history and soil type. Knowing this depth tells you how deep your subsoiler shanks need to run and helps you estimate fuel consumption and time requirements.
Map out your treatment passes before you start. Plan to run parallel to existing crop rows when possible to minimize disturbance. Consider where pivot irrigation systems, buried power lines, or drainage tiles run, you’ll need to avoid these or adjust your working depth accordingly. If you’re treating fields with standing cover crops, decide whether to terminate them first or work around them based on their root development and your equipment clearance.
Coordinate treatment timing with your crop rotation plan. The best window is often after harvest and before freeze-up, or in early spring before seeding, when soil moisture is right. Schedule equipment access with neighbors or rental yards well ahead of time, especially during busy periods.
Phase 2: Mechanical Intervention
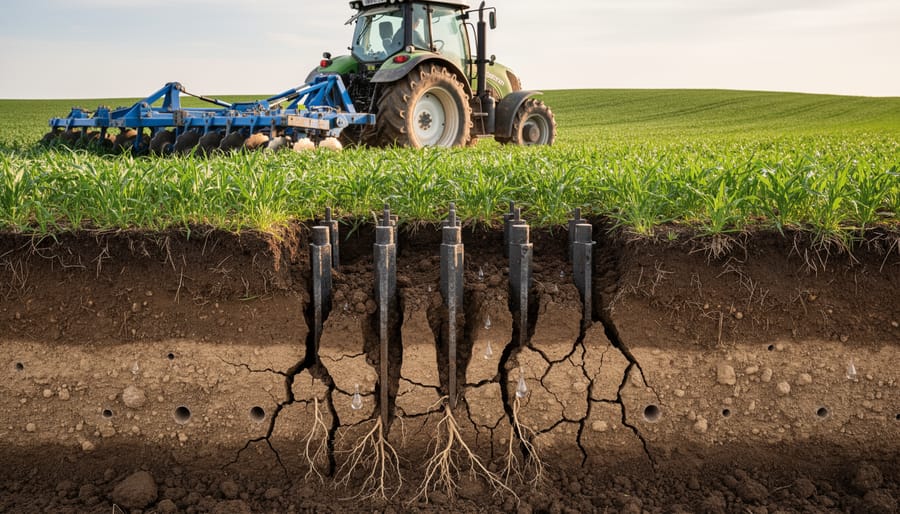
Begin your first pass early in the day when you can monitor conditions closely. Set your subsoiler or ripper to the target depth, just below the hardpan layer, and make a test run across a small section. Watch the soil surface behind the implement: you want to see the ground lifting and fracturing in a wave pattern, with visible cracks radiating outward. If the soil simply closes back smooth behind the shank without lifting or cracking, you’re likely working too wet and creating smear rather than fracture.
Run your passes perpendicular to the direction of previous compaction if possible. Equipment typically moves north-south during harvest, so east-west treatment passes can break up layered compaction more effectively. Space shanks according to your soil type, heavier clay soils in central Alberta benefit from closer spacing to ensure complete fracture between passes, while lighter loam soils may crack adequately with wider intervals.
Adjust depth cautiously as you work. Prairie soils often have variable hardpan depth across a single field due to differences in traffic patterns and soil texture. Going deeper than necessary wastes fuel and can bring up subsoil that takes years to re-incorporate. Conversely, working too shallow leaves the compacted layer intact. Stop periodically to dig beside a fresh pass and confirm you’re penetrating through the dense layer.
Pay attention to soil response after tillage in different field zones. Areas that show good fracture early may indicate optimal moisture, while sections that resist cracking or glaze over signal conditions aren’t right yet. Mark problem zones and return to them when soil moisture improves rather than forcing the operation and risking further damage.
Phase 3: Biological Integration
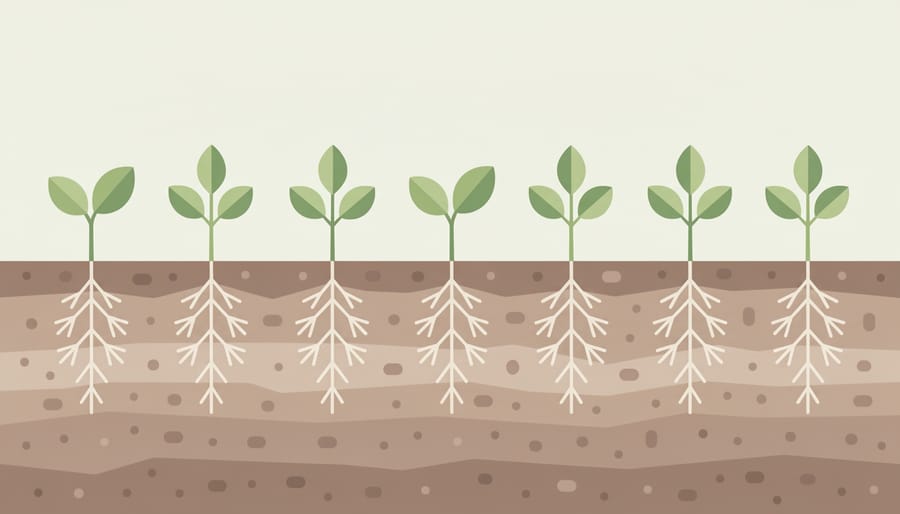
Once you’ve fractured the compacted layer mechanically, living roots need to take over the work. This phase determines whether your treatment creates lasting improvement or just temporary relief.
The goal is getting deep-rooting plants established quickly while the soil structure remains open. Their roots will follow the cracks your equipment created, push deeper into the subsoil, and deposit organic matter throughout the profile. As these roots grow, die back, and regrow, they create permanent channels that improve drainage and aeration far beyond what mechanical treatment alone achieves.
Species that work in Alberta’s climate
Daikon radish stands out for compaction treatment because its taproot can penetrate several feet down, following and widening the fractures you’ve created. Forage radish varieties tolerate cold better than garden types and establish quickly in late summer. Cereal rye works well when you need ground cover through winter, its fibrous root system stabilizes the soil profile while exploring every available opening. For warmer planting windows, oats provide fast biomass and extensive shallow rooting that complements deeper species.
Many Alberta farmers seed a mix rather than relying on one species. Combining radish for deep penetration with a cereal for fibrous spread and a legume like field peas for nitrogen creates diverse root architecture that addresses compaction at multiple depths. The mix also hedges against variable germination conditions.
Seeding after mechanical work
Timing matters more than precision. You want seeds in the ground within days of subsoiling, while moisture still exists in the fractured zone and before weather closes the planting window. Broadcast seeding with a cultipacker or light harrow provides adequate soil contact without re-compacting. Drilling works if your seeder runs light and doesn’t create new hardpan with press wheels.
Seed deeper than you would for a cash crop, getting roots down to the treated layer quickly matters more than uniform emergence. Moisture at depth often exceeds surface conditions after mechanical work has opened pathways.
The biological phase continues working long after equipment leaves the field, with roots extending the benefits of treatment throughout the soil profile.
Phase 4: Organic Matter Addition
Adding organic amendments after mechanical treatment helps stabilize the improvements you’ve made and builds long-term soil structure. The key is timing your application so the material integrates well without sitting on the surface or interfering with your next crop.
Apply compost, aged manure, or other organic materials once you’ve completed mechanical loosening and established your cover crop. The growing roots and soil biology will work together to incorporate the amendments throughout the profile. If you’re broadcasting material, do it before or shortly after seeding your cover crop so rainfall helps move nutrients into the loosened soil structure.
Work with what’s available locally, composted dairy manure, feedlot compost, or municipal leaf compost all improve aggregation and water-holding capacity. Talk to your supplier about maturity and weed seed content rather than focusing solely on nutrient analysis. Well-composted material that won’t introduce new problems matters more than hitting a specific application target.
Surface application works well if you have an active cover crop to incorporate the material biologically. If you’re working bare soil, a light incorporation with a vertical tillage tool or harrow prevents the amendment from forming a mat. Avoid burying it deeply, you want the organic matter distributed through the root zone where it supports aggregate formation.
Consider your equipment capacity and field access when planning timing. Fall application before freeze-up gives you flexibility, but spring application closer to planting can work if conditions allow. Match your approach to your operation’s workflow rather than trying to meet an ideal schedule that doesn’t fit your reality.
Verifying Treatment Success and Next Steps
After the hard work of treating compacted soil, you need clear evidence the intervention worked. Walk your treated fields within a few weeks and look for visual changes: water now infiltrating where it once pooled, earthworm castings appearing on the surface, and soil that crumbles rather than forming hard clods when you squeeze a handful. These immediate signs tell you the physical structure has improved.
The most reliable verification comes from digging inspection pits in treated zones. Excavate down 18 to 24 inches and examine the soil profile. You should see fracture lines where the subsoiler shanks broke through hardpan, roots beginning to explore deeper layers, and a looser, more porous texture compared to untreated areas. Compare root depth in treated versus untreated strips during the following growing season, successful treatment often doubles rooting depth within one year.
Simple penetration tests using a metal rod or soil probe give you quantitative feedback. Push the probe into treated soil at various points, it should slide smoothly to target depth with steady pressure rather than hitting an abrupt barrier. Repeat this test seasonally to track whether improvements hold or compaction returns.
Crop performance provides the ultimate validation, though results take time. Expect noticeable improvements in establishment and early vigour during the first season after treatment, with full yield benefits emerging over two to three years as biological activity rebuilds soil structure. If you see minimal improvement after one full growing season, shallow re-treatment may be necessary, but avoid repeating deep tillage annually.
Successful treatment creates an opportunity to prevent recurrence. Transition immediately to controlled traffic patterns, maintain living roots year-round through cover crops, and build organic matter consistently. Document your results and observations to refine your organic management plan treating compaction recovery as the starting point for long-term regenerative soil health rather than a one-time fix.
Building Long-Term Prevention Into Your Operation
The best time to fix compaction is before it happens. Once you’ve treated existing problems, shifting your management approach prevents the cycle from starting over.
Controlled traffic farming makes the biggest difference. Designate permanent wheel tracks for your equipment and keep wheels in the same paths every pass. This confines compaction to about 15-20% of your field instead of running over different ground each time. GPS guidance systems help maintain those lanes season after season. If you’re not ready for full controlled traffic, at least match your implement widths so subsequent passes track the same routes.
Soil conditions matter more than the calendar. Working ground when it’s too wet causes compaction that takes years to reverse. If soil balls up in your hand and doesn’t crumble easily, it’s too wet for field work. The “ribbon test” helps, squeeze soil between your thumb and finger, and if it forms a ribbon longer than your thumb, wait. Some Alberta farmers check multiple spots across a field before starting operations because moisture varies.
Living roots change soil structure from the inside. Keeping something growing year-round, whether cash crops, cover crops, or both, maintains the root channels and biological activity that naturally resist compaction. After harvest, establish a cover crop quickly rather than leaving soil bare through fall and winter. Even short-season mixes that winterkill provide root mass and surface protection.
Reduce tillage intensity wherever your system allows. Each tillage pass pulverizes soil structure and creates conditions for future compaction. Many Alberta producers have shifted to vertical tillage tools or eliminated secondary tillage operations without sacrificing seedbed quality. The goal isn’t necessarily zero tillage immediately, but questioning whether each pass truly serves a purpose.
Livestock integration done right builds soil structure. Planned grazing that moves animals before they damage wet ground can improve aggregation through hoof action and manure inputs. The timing matters more than the practice itself. Exclude livestock when conditions are soft, then graze strategically during drier periods.
Track your field operations in a notebook or app. Note dates, soil conditions, and equipment used. Patterns emerge over time showing which practices maintain good soil structure and which create problems. This simple record becomes your prevention playbook.
Learning From Alberta Farmers
Alberta farmers have learned valuable lessons about treating and preventing soil compaction through hands-on experience with their own fields. Their collective wisdom offers practical guidance for others facing similar challenges.
One central Alberta grain producer discovered that timing mechanical treatment to coincide with establishing cover crops delivered better long-term results than either practice alone. The cover crop roots followed the fracture lines created by subsoiling, extending the benefits of the initial treatment. This combined approach helped him gradually reduce the frequency of mechanical intervention needed across his operation as soil structure improved over several growing seasons.
A mixed farm in the Peace Country found that mapping compacted zones before treatment allowed for targeted intervention rather than working entire fields. By focusing mechanical work only where penetration resistance indicated problems, the operation saved time and fuel while avoiding unnecessary soil disturbance in areas that remained healthy. This selective approach aligned well with their broader soil health goals and made the treatment process more manageable.
Southern Alberta producers working heavier clay soils emphasized that patience with soil moisture conditions proved crucial. Several learned through hard experience that attempting treatment when soil was too wet created smearing that worsened compaction problems. They now wait for appropriate moisture windows even if that means delaying other field operations, recognizing that proper timing determines treatment success.
The common thread across these experiences is viewing compaction treatment not as a one-time fix but as the starting point for improved soil management practices that prevent recurrence.
Common Questions About Soil Compaction Treatment
Can I treat compaction while maintaining a no-till system?
Yes, through strategic biological approaches. Deep-rooted cover crops like daikon radish and forage turnips can break through compacted layers without mechanical disturbance, though the process takes longer than one-time tillage. You’ll preserve your no-till benefits while gradually improving soil structure over multiple growing seasons.
What’s the best timing for mechanical treatment in Alberta?
Target the narrow window when soil is moist but not wet, typically late spring or early fall when you can form a soil ball that crumbles under light pressure. Avoid treating frozen ground or during wet periods, as you’ll create worse compaction rather than relieving it.
Will treating compaction affect my organic certification?
Mechanical treatment itself doesn’t compromise certification, but confirm any amendments you add meet organic standards. Most cover crop seeds and compost sources qualify, though you’ll want documentation from suppliers to satisfy audit requirements.
How do I budget for compaction treatment without knowing exact costs?
Contact local equipment dealers for current rental rates and compare those against custom operator charges in your area. Factor in your time, fuel, and whether biological approaches might spread costs across seasons while building long-term soil health.
The most common concern farmers raise is whether treatment needs to happen all at once. It doesn’t, you can phase mechanical work across fields over several years while establishing cover crops immediately on treated areas. This staged approach spreads labour and equipment costs while you learn what works best for your specific soil types and operation.
Alberta’s short growing season creates valid worries about fitting treatment into an already-packed calendar. Many producers find success treating their worst compacted areas right after harvest, before freeze-up, then seeding a winter-hardy cover like winter rye that establishes quickly and continues working through freeze-thaw cycles. You’re not losing production time because the ground would sit idle anyway.
Equipment access is another practical question. If you don’t own deep tillage tools and aren’t ready to invest, rental arrangements or hiring custom operators let you test treatment effectiveness before committing to ownership. Some farmers form co-ops to share specialized equipment, reducing individual cost while maintaining access when soil conditions are right.
The relationship between treatment and your existing soil-building practices matters too. If you’re already incorporating organic matter, practicing crop rotation, or using livestock integration, compaction treatment accelerates those benefits rather than replacing them. You’re removing a physical barrier that’s been limiting how well your other regenerative practices can work.
Treating soil compaction isn’t just a one-time fix, it’s the starting point for building healthier, more resilient soil that resists future damage. The mechanical work breaks the hardpan, but what you do afterward determines whether you’ll face the same problem again in a few years or build lasting improvement. Every cover crop you plant, every pass you avoid when conditions aren’t right, every decision to work with your soil instead of against it compounds into stronger structure and better yields over time.
Alberta’s soils have supported generations of farmers, and they’ll support many more when we manage them with their long-term health in mind. Compaction treatment requires investment, time, effort, sometimes equipment rentals or contractor help, but the payoff shows up in improved water infiltration, stronger root systems, and crops that can tap deeper nutrient reserves. You’re not just fixing a problem; you’re rebuilding the foundation your entire operation depends on.
Start where you are. Maybe that means treating your worst field this season and implementing controlled traffic on the rest. Maybe it’s adding one cover crop species to your rotation or timing one fewer field pass to proper soil conditions. Small consistent steps toward regenerative management prevent compaction better than any single treatment can.
Your local agricultural fieldmen, soil conservation districts, and fellow producers who’ve tackled similar challenges can offer practical guidance specific to your region and operation. The knowledge is there, now it’s about putting it to work in your fields.