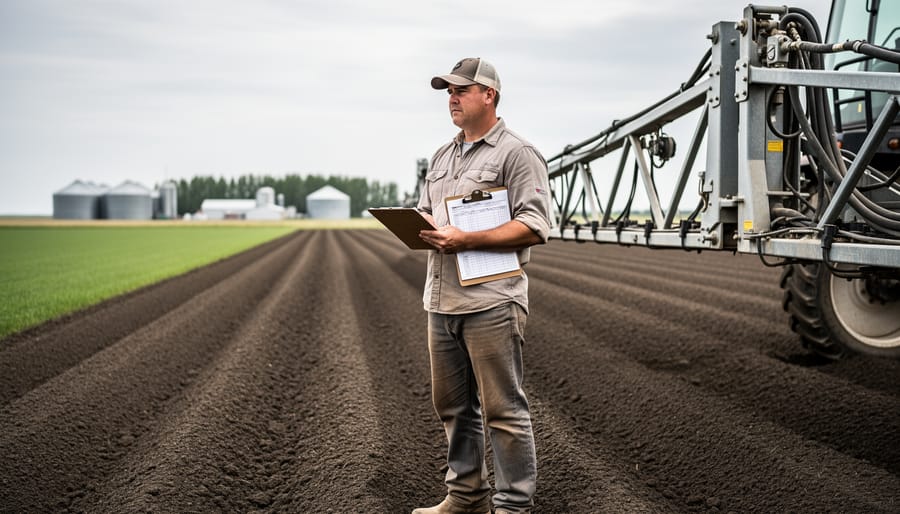
The short answer: keep a dated, field-by-field record of every product you apply, and organize it so your certifier can follow it from input purchase to harvest. Do that consistently and residue monitoring stops being a source of stress. It becomes a routine check that confirms what your records already show.
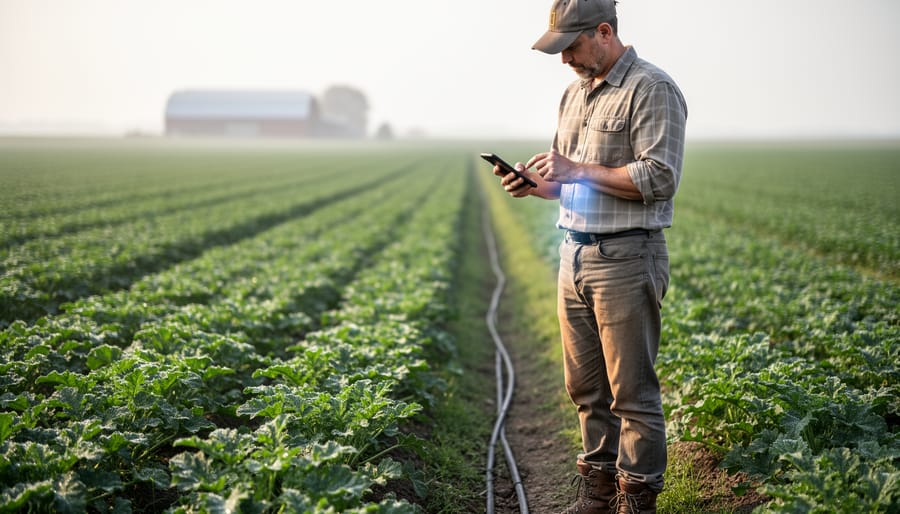
Most farmers can get a workable system running in an afternoon. You don’t need special software, just a notebook, a spreadsheet, or whatever app you already trust. What matters is that each entry captures the field, the date, the product, the rate per hectare, the weather, and who applied it. Add your receipts and sprayer calibration notes, and you’ve covered most of what certifiers ask to see.
This matters well beyond one inspection. Clean records back up your certification, support buyer confidence, and fit neatly alongside other documentation you may already keep, such as an MRV plan for carbon programs.
In the sections below, we’ll walk through what certifiers look for, the tools you’ll need, safety stop points, a step-by-step documentation routine, and how residue sampling works. You’ll also hear from Canadian producers who’ve done it. Your certifier sets the program-specific requirements, so keep them in the loop as you build your system.
What Certification Programs Look For in Agrochemical Records and Residue Results
Certification programs, at their heart, want to see proof. They want to know that what you say happens on your farm matches what actually happens, and your records and any residue results are how you show it.
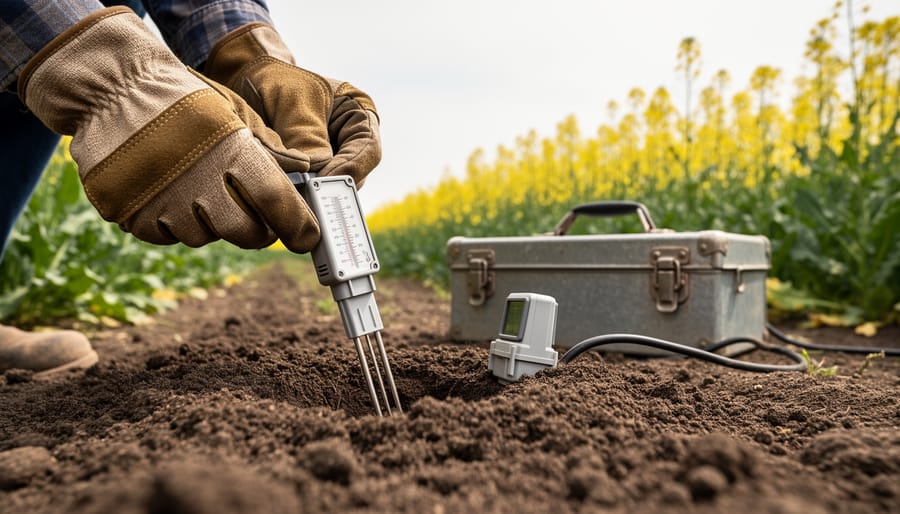
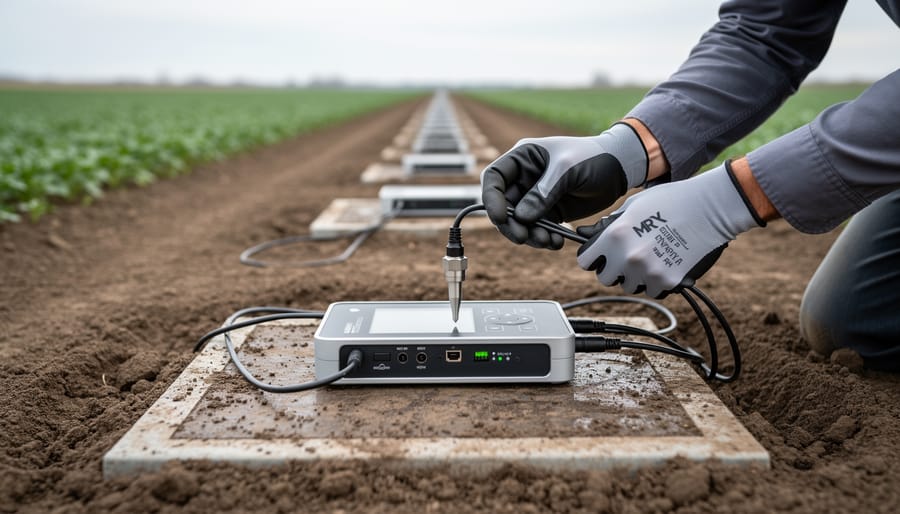
Records answer four simple questions about every agricultural chemical use event: what was applied, when, where, and at what rate. A certifier reading your logs should be able to trace a product from purchase to field to harvest without guessing. Residue monitoring then adds a second layer of confidence. Samples of soil, plant tissue or crop are tested to confirm that what’s in the sample lines up with what your records say, and that it sits within accepted limits.
A few terms come up again and again, so here’s what they mean:
– Residue: the small trace of a product (or what it breaks down into) that can remain on or in a crop or soil after application.
– Maximum residue limit (MRL): the highest level of a residue legally allowed on a food product. In Canada, these limits are set by Health Canada and enforced through the Canadian Food Inspection Agency (CFIA).
– Buffer zone: an untreated strip between your field and a neighbouring one, or between your field and a water body, that protects against unintended contact.
– Drift: spray or vapour that moves off target on the wind and lands where it wasn’t meant to.
Different programs weigh these things differently. Organic standards in Canada are built around a list of prohibited substances, required buffer zones and a transition period, often 36 months, during which land is managed organically before the crop can be sold as organic. Certifiers working under the Canadian organic standards will look closely at field history, buffers and anything that could signal contamination.
Conventional and other sustainability programs usually don’t prohibit products outright. Instead, they focus on correct label use, application timing, pre-harvest intervals and keeping residues under the MRL. The documentation looks similar, but the questions behind it differ.
Because specifics vary from one program to the next, your certifier is always the best source for exactly what they expect to see.
Tools and Materials You Need Before You Start Record-Keeping and Sampling
Good records start with having the right materials in one place before the season begins. You don’t need anything fancy. A simple, tidy system you’ll actually use beats an elaborate one that sits untouched in the shop.
Here’s a practical checklist to gather, grouped by what each item supports:
- Record-keeping: Field maps showing each field’s ID, size in hectares and neighbouring land use.
- Record-keeping: A binder, spreadsheet or farm software to log every application by date, product, rate and field.
- Record-keeping: Purchase receipts and invoices filed by season so you can cross-check what you bought against what you applied.
- Application: Current product labels and safety data sheets for everything stored on the farm.
- Application: Sprayer calibration logs showing nozzle output and travel speed.
- Application: Weather records, including wind speed and direction, temperature and humidity at spraying time.
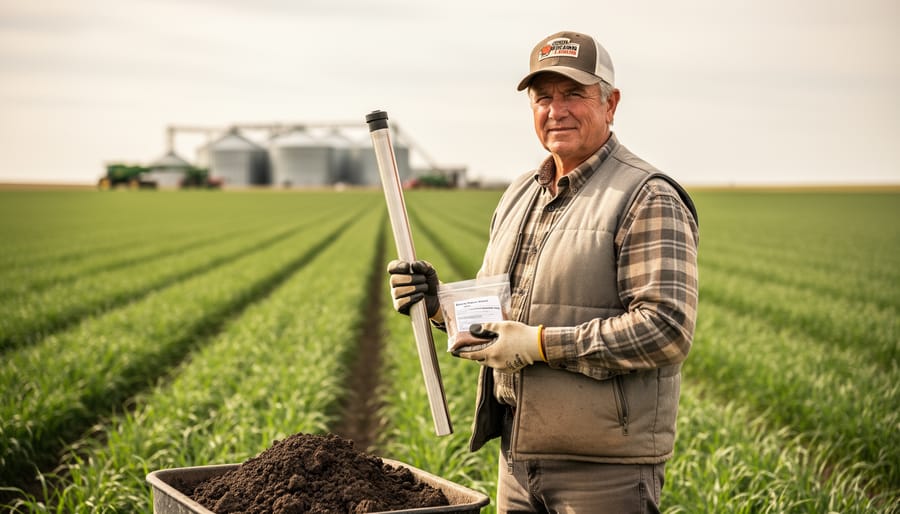
- Sampling: Clean sample bags, waterproof labels and a permanent marker.
- Sampling: Contact details for your accredited lab and your certifier, kept somewhere easy to find.
Notice that the list is short. If you’re starting from scattered notes, begin with just two things: a field map with IDs and a single place where every application gets written down the same day. Everything else can be layered in as you go.
Pick the format that fits how you already work. A paper binder in the truck is perfectly fine, and so is a basic spreadsheet. Software can save time later, but only if you’ll use it consistently. Whatever you choose, keep it in one location and keep entries dated and legible, so anyone who picks it up, whether a certifier or a family member, can follow your farm’s story.
Safety Warnings and Stop Conditions for Handling and Applying Agrochemicals
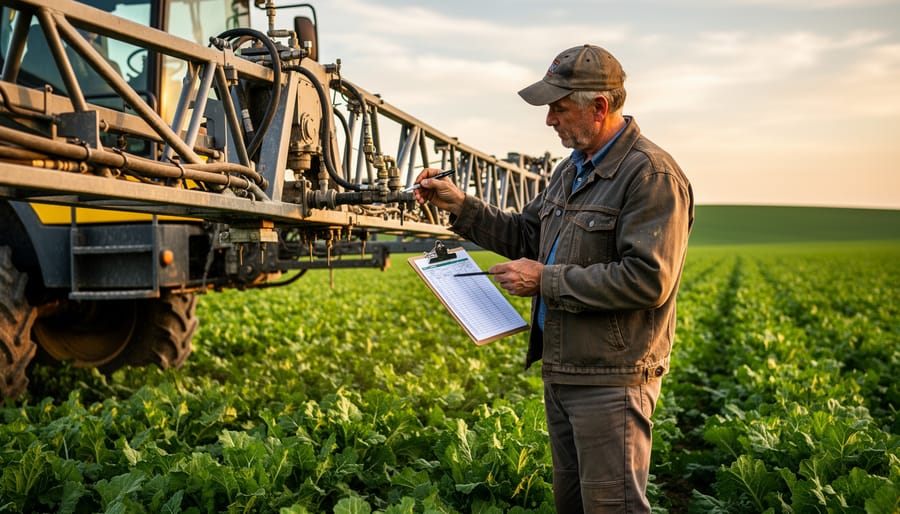
Safe agrochemical use starts before you open a jug. Read the full label and safety data sheet every time, even for products you’ve used for years, because directions and restrictions can change. Wear the personal protective equipment the label calls for, usually chemical-resistant gloves, coveralls, eye protection and sometimes a respirator, and check it for wear before each job.
Drift is the easiest problem to prevent. Hold off on spraying when wind is gusty, when it’s dead calm with a temperature inversion (fog or smoke hanging low is a clue), or when the temperature is high enough to cause volatilization. Follow the wind and temperature limits on the label, and note conditions in your records as you go.
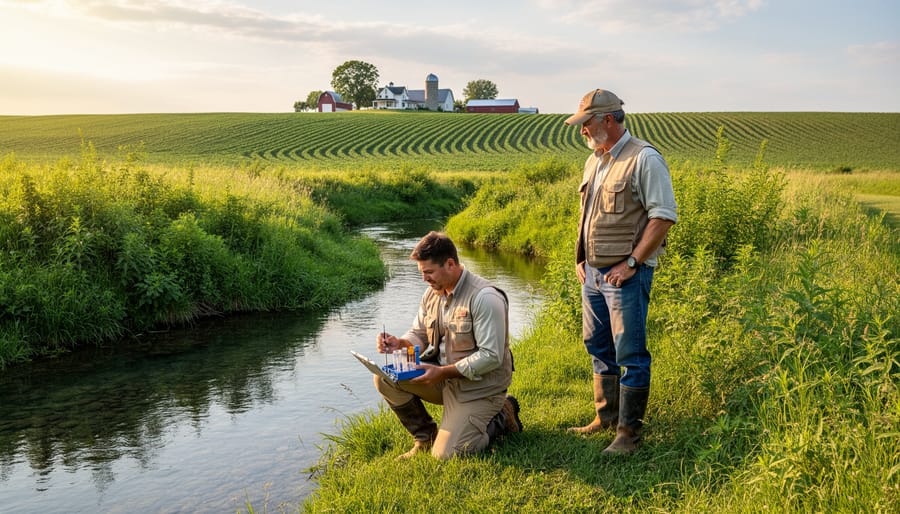
Alberta’s prairie wetlands, sloughs, creeks and shallow wells are worth protecting. Mix and load well away from water, keep a generous buffer around wells and watercourses, and never rinse equipment where runoff can reach them. Clean rinsate can often be sprayed back onto the treated field according to label directions, and triple-rinsed containers should be returned through your local collection program. Store products in a locked, dry, ventilated space, separate from feed, food and fuel. Keeping this kind of documentation also supports any future water quality MRV work you take on.
If a label is missing, torn or unreadable, treat that product as unusable until you’ve confirmed what it is. When in doubt, pause and call your certifier or agrologist. They would much rather answer a quick question than help sort out a problem later. Always follow provincial regulations and label directions, since the label is the law.

Step-by-Step: Documenting Agrochemical Use From Purchase to Harvest
Planning and Pre-Purchase Checks
Before the season starts, a bit of planning saves you real headaches at audit time. Start by confirming that every product you’re considering is permitted under your certification program, since a quick call to your certifier beats guessing. Then read each label closely for rates, restrictions and re-entry or pre-harvest intervals, and review your field history so you know what’s been applied where. Here’s a simple order of work that carries you from planning through season’s end:
- Map your fields and assign each one an ID.
- Check every input against your certification standard before buying.
- File labels, SDS sheets and receipts together.
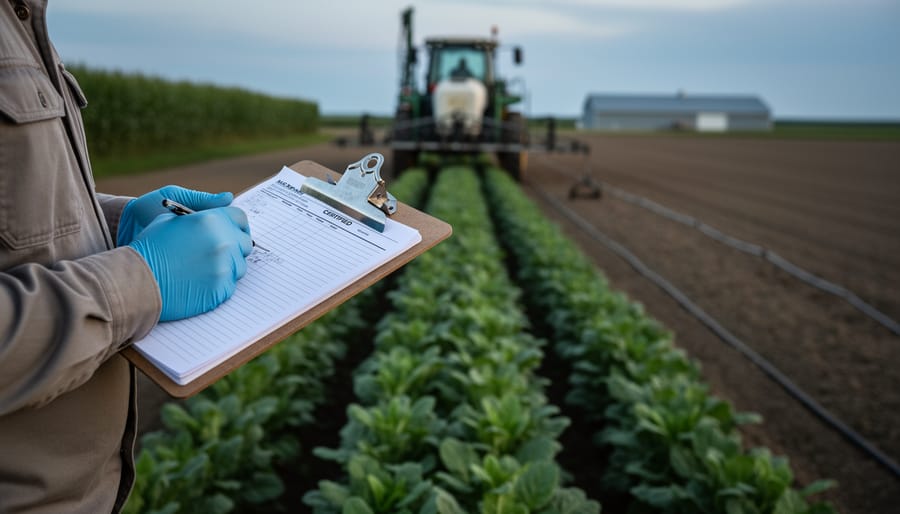
- Record each application: date, field, product, rate, equipment, weather and operator.
- Log sprayer cleaning and calibration.
- Note buffer zones and neighbouring land use.
- Track pre-harvest intervals.
- Collect and label samples if your program requires them.
- Reconcile purchases against use at season end.
Walk your field edges early in spring and sketch where buffers will go, in metres, against neighbouring crops, shelterbelts or sloughs. Settling these details now means your records tell a clear, confident story all season.
Recording Applications and Preventing Cross-Contamination
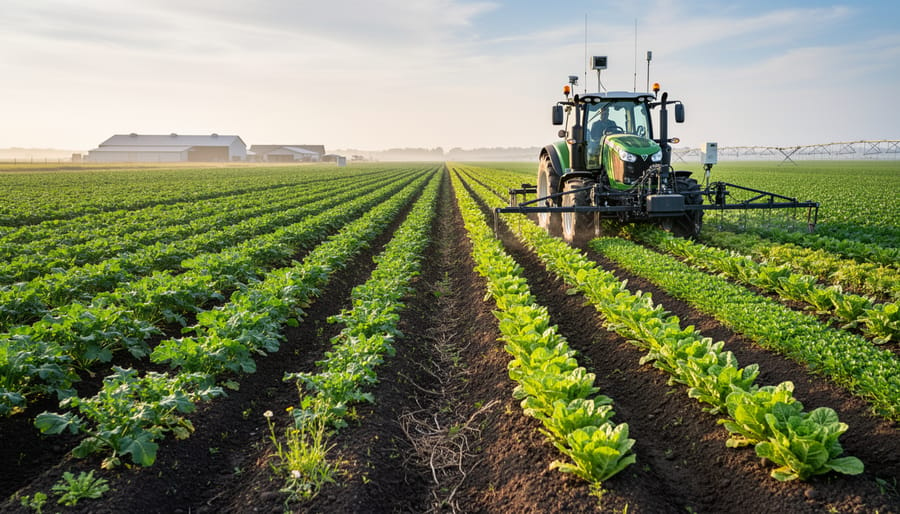
Log each application the day it happens, while the details are fresh. Record the date, field ID, product name, rate per hectare, total volume mixed, start and finish times, wind speed and direction, temperature, and who did the spraying. If you slip up and miss a field, note that too. Honest, dated entries are what a certifier trusts most. A certification-ready manual can help you set up a log that captures all of this consistently.
Cross-contamination is mostly a cleanout story. After every job, rinse the sprayer following the label, record the date and the method, and apply rinsate only where the label allows. Where equipment is shared, with a neighbour or between certified and non-certified fields, write down who used it last and what was in the tank. Cleaning that follows a written routine is easy to prove later.
For drift from neighbouring fields, jot down any spraying you notice, plus wind conditions and your buffer width. Write in ink, keep entries legible, and initial any correction rather than erasing it.
How Residue Sampling and Lab Testing Work for Certification
Residue sampling sounds technical, but the idea is simple: a small, carefully handled sample tells you whether what’s on your land or crop matches what your records say. Think of it as a check-in that builds confidence, not a pass-or-fail penalty.
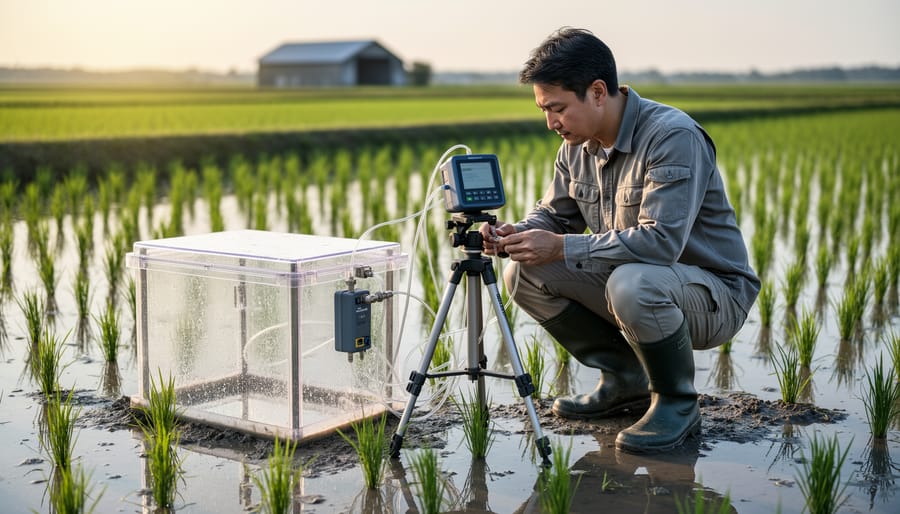
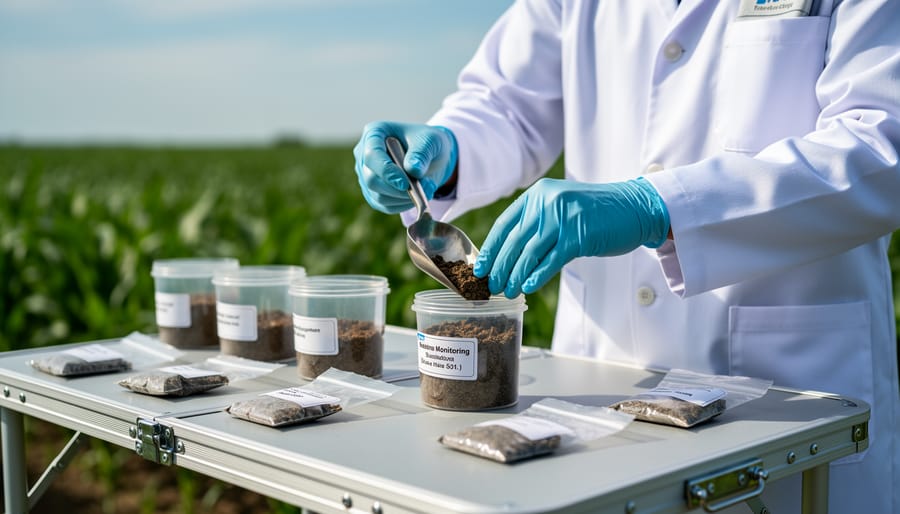
Samples usually fall into three types. Soil samples are taken from several spots in a field and combined. Plant tissue samples, such as leaves, come from the growing crop. Crop samples are drawn from harvested grain or produce, often from several points in a bin or load so the result reflects the whole lot. Your certifier will tell you which type applies to your program.
Who collects the sample depends on the program. In many cases a certification inspector pulls it during a visit. Other times, you collect it yourself by following a written protocol. If that’s you, label each bag with the field ID, date and sample type, keep it clean and cool, and log who handled it and when. That documentation matters as much as the sample itself.
When choosing a lab, ask your certifier whether they require or recommend a specific one. Look for accreditation, which shows the lab follows recognized quality standards, and confirm it tests for the substances your program cares about. Ask about turnaround and costs directly, since these change and vary by lab.
A typical report lists the substances tested, the amount detected (often in parts per million or per billion), and the limit of detection, the lowest level the lab can reliably measure. Your certifier compares those numbers against thresholds for your program, such as maximum residue limits. A result of “not detected” is common and reassuring. If something does appear, treat it as early information to investigate, not a verdict. This kind of residue monitoring works best alongside the clear records you’ve been keeping all season.
Alberta Case Studies: How Producers Built Records and Monitoring Into Their Routine
The two examples below are illustrative composites built from common Alberta experiences. We’ll replace them with named producers and confirmed details once our interviews are complete.
Case study one: from sticky notes to a season binder. A mixed grain grower in central Alberta used to track sprays on scraps of paper stuffed in the truck. Before her first organic inspection, she couldn’t answer a simple question: what went on the north quarter two years ago? She started with one binder and one rule. Every field got an ID, and every application was logged the same day, with the product, rate, date, wind and who sprayed. Her purchase receipts went into a pocket at the back, so she could cross-check them against her logs each fall. At inspection, the paper trail answered the questions before she had to dig for anything. She told us the real payoff was confidence. Her buyer could see exactly what she’d done, and so could she.
Case study two: a residue result that led to a better buffer. A farm in southern Alberta had a routine residue sample come back with a trace of a product they hadn’t applied. Rather than panic, they pulled their records, mapped the neighbour’s spraying dates and found a likely drift window. They contacted their certifier right away, showed their buffer documentation and widened the buffer along that boundary. Because their records were clear, the conversation stayed practical and solution-focused.
Expert voice. We plan to sit down with a certification inspector or agrologist to ask what they see most often. Until then, here are the pitfalls commonly flagged by people in these roles:
– Writing records days later from memory, which leads to gaps and guesses.
– Forgetting to log sprayer cleanouts and shared equipment.
– Leaving buffer zones and field history undocumented.
– Waiting until the audit to organize everything.
Their usual advice is to start simple and keep it consistent. A basic system you actually use beats a fancy one you don’t.
Verifying Your Records and Knowing What to Do Next
Before your inspector arrives, check that your records can stand on their own. Start by cross-checking purchases against applications. Every receipt should match a logged application, and every application should trace back to a purchase. Gaps are the first thing a certifier notices, and they’re easy to fix when you find them yourself.
Next, confirm that every field has a complete history: product name, rate in litres or kilograms per hectare, date, weather conditions and who applied it. Review your buffer notes and pre-harvest interval entries too, so you can show the right distance and waiting time were respected.
Then run a mock audit. Ask a neighbour or your agrologist to pick a field at random and follow the paper trail from purchase to harvest. Fresh eyes spot what you’ve stopped seeing, and the practice makes the real visit far less stressful.
If a residue result comes back unexpected, stay calm. It’s information, not a verdict. Document everything you know about that field and sample, then look for likely sources such as drift from a neighbouring field, shared or poorly cleaned equipment, or a mislabelled input. Contact your certifier promptly and share what you’ve found. They’ve seen this before and can guide you on next steps. Then adjust your practices, whether that means wider buffers, a tighter cleanout routine or better storage.
For continued learning, the Organic Farming, The Canadian Way workshops and podcasts offer practical tips from producers and experts across the country.
Common Questions About Agrochemical Records and Residue Monitoring
Here are the questions growers ask us most often. Keep in mind that every certifier and program sets its own rules, so treat these answers as a starting point and confirm the specifics with yours.
How long should I keep my agrochemical records?
Many certification programs ask for several years of records, but the exact period varies by program. Ask your certifier how long they expect you to hold onto application logs, receipts and field histories, and keep everything for at least that long.
What if spray from a neighbour’s field drifts onto mine?
Write down the date, time, wind conditions and what you observed, take photos, and contact your certifier promptly. A calm, well-documented account shows you acted responsibly, and buffer zones along your boundaries help reduce the risk in the first place.
Do small farms need the same documentation as large ones?
Generally, yes. Record-keeping expectations usually focus on what you apply and where, not how many acres you farm, though a small operation can often keep things simple with a binder or spreadsheet.
How often does residue testing happen?
It depends on your program and your risk factors. Some farms are tested routinely, others only when there’s a specific concern, so check with your certifier about what to expect on your operation.
Still unsure about the paperwork? Your certifier is the best first call, and a local agrologist or your provincial agriculture office can help you sort out the rest. You don’t have to figure it out alone.
Good records are one of the simplest ways to protect what you’ve worked hard to build. When you log every application and understand how residue monitoring fits in, you protect your market access, the confidence of your buyers, and the health of your soil and water for the seasons ahead.
You don’t need a perfect system on day one. Start with a field map, a notebook or spreadsheet, and the habit of writing things down the same day. Improve it a little each year, and audits start to feel like a routine check-in instead of a scramble.
No one has to figure this out alone. Alberta farmers are generous with what they’ve learned, whether it’s a clever way to track sprayer cleanouts or a tip for staying ahead of paperwork. Join an upcoming workshop, tune in to the podcast, or share your own record-keeping tips with a neighbour. We all grow stronger when we learn from one another.