Measure soil moisture accurately by collecting a soil sample, weighing it wet, drying it in an oven at 105°C for 24 hours, then weighing it again—the difference reveals exactly how much water your soil holds. This straightforward laboratory method, known as gravimetric analysis, remains the gold standard for determining soil water content despite decades of technological advancement. For Alberta farmers facing increasing water management challenges, understanding this foundational technique provides crucial context for evaluating modern moisture sensors and making informed irrigation decisions.
Calculate gravimetric soil moisture as a percentage by subtracting dry soil weight from wet soil weight, dividing by dry soil weight, then multiplying by 100. This simple formula transforms raw measurements into actionable data that reveals whether your crops have adequate water during critical growth stages. Unlike expensive electronic sensors that can drift out of calibration or fail in harsh prairie conditions, gravimetric measurements deliver reliable results using equipment most farms already own or can access through local agricultural extension services.
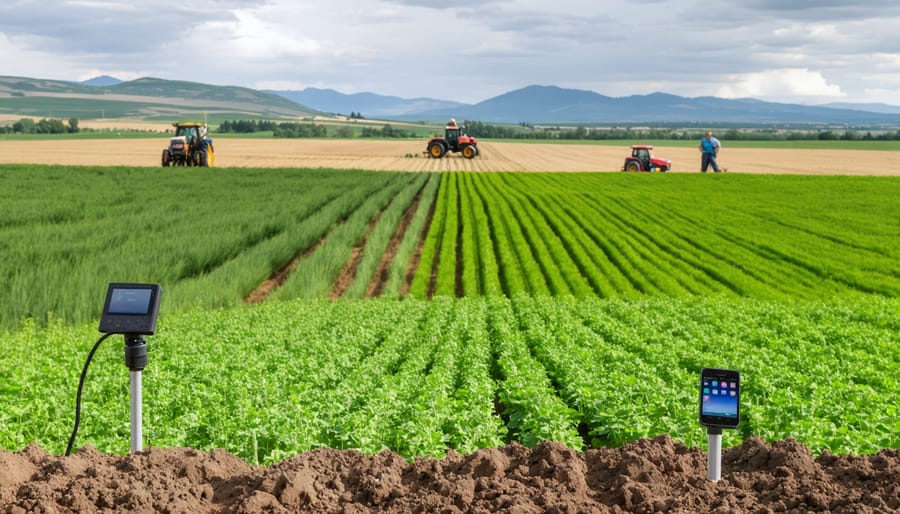
Compare your gravimetric results against field capacity and permanent wilting point values specific to your soil type—clay loams common across central Alberta typically hold water differently than sandy soils found in southern regions. This baseline data helps you interpret readings from neutron probes, capacitance sensors, or other precision agriculture tools you may adopt later. Many successful Alberta producers still use gravimetric sampling strategically during the growing season, not as their primary monitoring method, but as essential ground-truthing that validates electronic equipment and builds deeper understanding of their unique soil-water dynamics across different field zones.
What Is Gravimetric Soil Moisture Measurement?
The Science Behind the Numbers
The calculation itself is straightforward. Let’s say you collect a soil sample from your field that weighs 200 grams fresh. After drying it completely in an oven at 105°C for 24 hours, it weighs 165 grams. The water that evaporated weighed 35 grams. To calculate gravimetric water content, divide the water weight by the dry soil weight and multiply by 100: (35 ÷ 165) × 100 = 21.2% gravimetric moisture content.
This percentage tells you how much water your soil holds relative to its solid particles. It’s the go-to measurement for Alberta farmers focused on irrigation scheduling and understanding drought stress, since it directly relates to how much water plants can access.
Gravimetric moisture differs from volumetric moisture content, which expresses water as a percentage of total soil volume rather than soil weight. Volumetric measurements require knowing your soil’s bulk density and are typically what automated sensors report. For clay-heavy soils common in central Alberta, the distinction matters significantly because these soils are denser than sandy soils.
Most Alberta farmers find gravimetric measurements valuable during critical growth stages when precise irrigation decisions impact yield. Dr. Sarah Chen, soil scientist at Olds College, notes that “gravimetric testing gives farmers confidence in their baseline measurements before investing in sensor technology.” While volumetric data suits real-time monitoring through sensors, gravimetric testing provides the calibration foundation and verification your digital tools need for accuracy across different soil types in your operation.
Why Accuracy Matters for Your Bottom Line
When you’re managing thousands of acres across Alberta’s variable climate, precision isn’t just nice to have—it directly impacts your profitability. Gravimetric soil moisture measurements give you the accuracy needed to make smarter decisions that protect your bottom line.
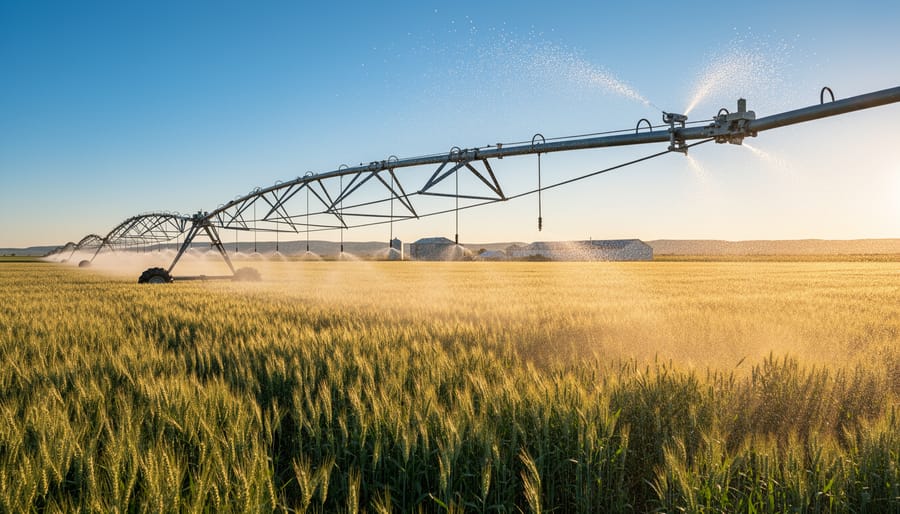
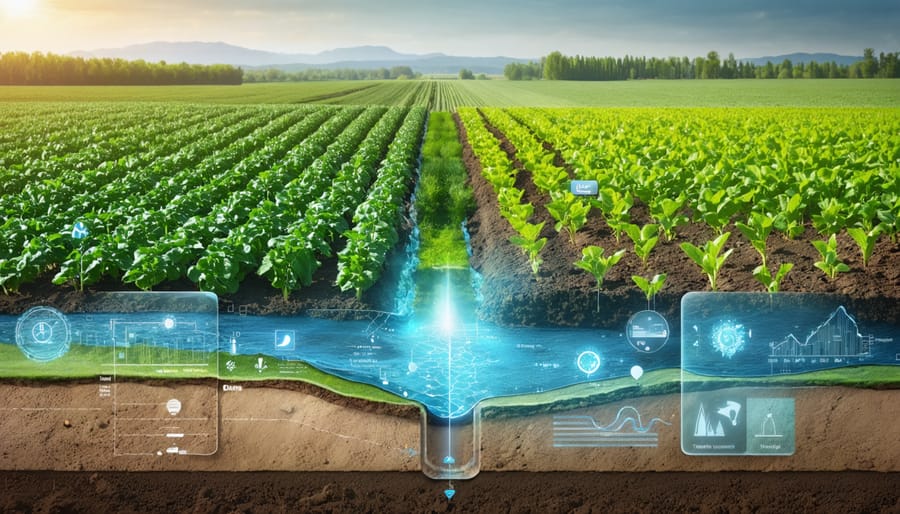
Consider irrigation efficiency: knowing exactly how much moisture is in your soil means you can apply water only when and where it’s needed. In southern Alberta, where precipitation can swing from drought to flooding within a season, this precision prevents both over-irrigation (which wastes fuel, increases pumping costs, and can leach nutrients) and under-irrigation (which stunts growth and reduces yields). Many producers report fuel savings of 15-20% when they dial in their irrigation schedules using accurate soil moisture data.
Fertilizer uptake also depends heavily on soil moisture levels. Apply nutrients when soil is too dry or saturated, and you’re literally watching your investment wash away or sit unavailable to your crops. Gravimetric measurements help you time applications for maximum plant uptake, stretching every fertilizer dollar further.
The yield connection is equally compelling. A Lethbridge-area grain producer shared that improving his moisture monitoring accuracy helped him achieve a 12% yield increase on barley by avoiding stress periods during critical growth stages. When you’re dealing with tight margins, that difference between adequate measurement and precise measurement can determine whether your season is profitable or just breaking even.
How to Perform Gravimetric Soil Moisture Testing on Your Farm
Equipment You’ll Need
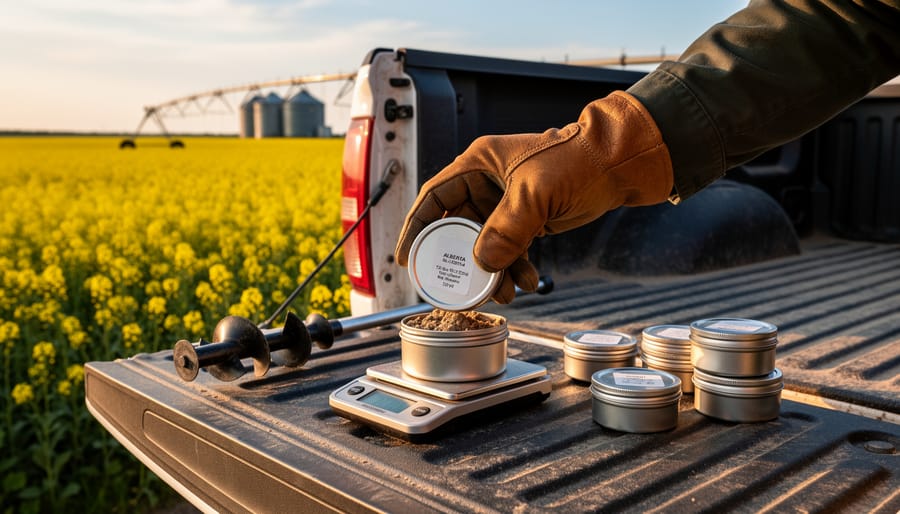
Getting started with gravimetric soil moisture testing requires just a few essential items, most of which you can source locally in Alberta or find budget-friendly alternatives for smaller operations.
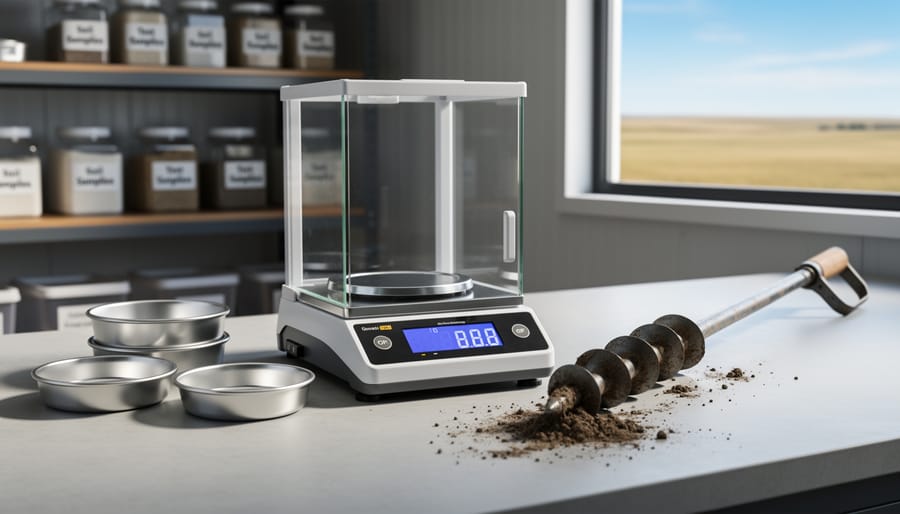
Your core equipment includes a soil auger or probe for collecting samples at various depths. Expect to pay $50-150 for a basic hand auger at agricultural supply stores like Peavey Mart or UFA in Calgary and Edmonton. Aluminum or tin containers with lids are essential for holding samples, available at laboratory suppliers for about $2-5 each, though clean metal tins work as low-cost substitutes.
A precision scale capable of measuring to 0.01 grams is necessary, typically costing $100-300 from scientific suppliers or online retailers. For drying samples, a laboratory oven runs $500-2000 new, but smaller operations can use a regular kitchen oven set to 105°C, though accuracy may vary slightly.
Budget-conscious farmers might consider sharing equipment with neighbors or checking University of Alberta’s agricultural extension for equipment loan programs. Some producers successfully use toaster ovens dedicated solely to soil work, reducing the initial investment to under $100 while still obtaining reliable moisture readings for irrigation scheduling decisions.
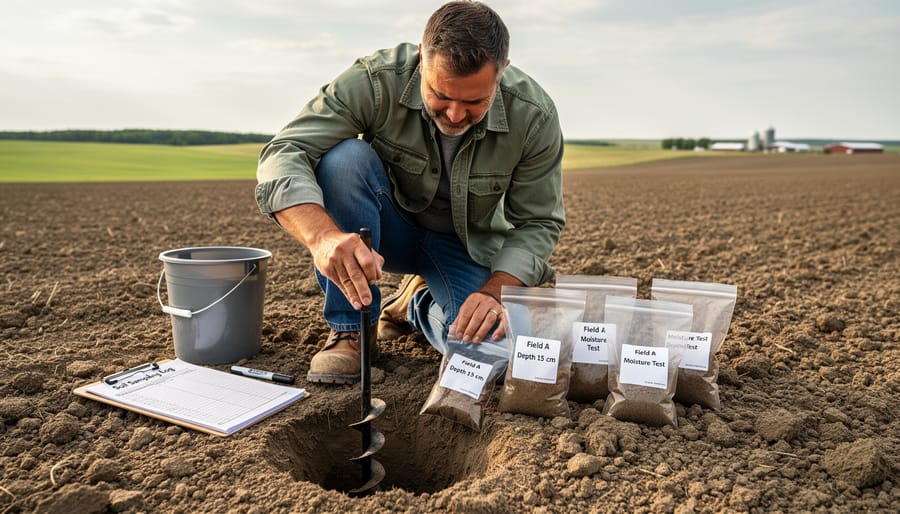
Collecting Representative Soil Samples
Getting accurate gravimetric results starts with collecting samples that truly represent your field conditions. For most Alberta crops, you’ll want to sample to a depth that matches your crop’s primary root zone. Cereals like wheat and barley typically require sampling to 60 centimetres, divided into two increments: 0-30 cm and 30-60 cm. Canola benefits from slightly deeper sampling to 90 centimetres due to its taproot system, while pulses like lentils and peas generally need 60 centimetres of depth coverage.
The number of samples matters significantly. For fields under 65 hectares, collect 15-20 individual cores and combine them into one composite sample per depth increment. Larger fields benefit from dividing into sampling zones based on soil type or topography, with separate composites for each zone.
Timing your sampling makes a real difference in data quality. Sample when soil is neither frozen nor excessively wet from recent rainfall. Early morning works well to minimize moisture loss during collection and transport.
Alberta’s diverse soil types each present unique handling considerations. Clay soils, common in the Peace Country and east-central regions, can compact easily in sampling tools. Clean your auger between cores and work methodically to avoid smearing. Sandy soils prevalent in southern Alberta flow freely but dry quickly, so move samples into airtight containers immediately. Loam soils, found throughout much of central Alberta, handle most cooperatively but still require prompt sealing.
Contamination prevention is straightforward but essential. Use clean equipment, avoid touching soil with bare hands, and seal samples in dedicated containers or heavy-duty plastic bags. Label everything clearly with field location, depth, date, and your contact information. Transport samples in a cooler if delays occur between collection and processing to minimize moisture changes.
Drying and Weighing: Getting It Right
The drying process is straightforward but requires attention to detail for accurate results. Set your oven to 105°C (220°F) and place your weighed soil samples inside for 24 hours. This temperature efficiently removes water without burning organic matter that could skew your measurements. For clay-heavy Alberta soils, you might need an extra 2-4 hours to ensure complete drying.
Before you start, weigh your empty containers and record these values. After collecting your soil samples, weigh them immediately to capture the wet weight. Once dried, remove samples from the oven, let them cool in a desiccator for 15 minutes (or covered container if you don’t have one), then weigh again for the dry weight.
Calculate moisture content using this formula: [(Wet Weight – Dry Weight) / Dry Weight] × 100 = Moisture Content Percentage
For example, if your wet sample weighs 250 grams and dry sample weighs 200 grams, you have 25% moisture content.
Common mistakes to watch for include opening the oven frequently during drying, which extends the process and wastes energy. Also, never handle hot samples without proper cooling, as moisture from the air can be reabsorbed quickly.
Quality control tips from Alberta agronomist Sarah Chen: “Run duplicate samples when you’re starting out. If your results differ by more than 5%, check your scale calibration and oven temperature.” She also recommends keeping a logbook with sample locations, dates, and weather conditions to identify patterns over time.
Invest in a reliable digital scale accurate to 0.1 grams. While they cost more upfront, precision matters when small measurement errors can translate to significant irrigation miscalculations across your fields. Clean your containers between uses and verify your oven maintains consistent temperature with an oven thermometer.
When Gravimetric Testing Makes Sense (And When It Doesn’t)
Ideal Situations for Gravimetric Measurement
Gravimetric measurement shines in specific scenarios where precision and accuracy matter more than immediate results. This method excels when you’re calibrating electronic soil moisture sensors, providing the gold-standard reference point against which other tools are measured. Many Alberta farmers use gravimetric sampling to spot-check suspicious readings from their automated systems, especially when irrigation decisions seem off or crop performance doesn’t match sensor data.
Research projects and university partnerships benefit tremendously from gravimetric measurement because of its unmatched accuracy. If you’re participating in trials for new crop varieties or testing innovative soil moisture management practices, this method provides the reliable baseline data researchers need.
The technique is particularly valuable for validating major irrigation decisions before investing in expensive water applications. Take Jim Henderson’s operation near Lethbridge, who performs gravimetric sampling three times during the growing season to confirm his sensor network is performing accurately. “It takes me an afternoon, but it’s saved me from over-irrigating twice now,” he explains. “That’s thousands of dollars in water costs and prevented potential yield loss from waterlogging.”
Gravimetric measurement works best when real-time data isn’t critical. Planning next week’s irrigation schedule? You have time for lab analysis. Need to adjust watering in the next hour? Electronic sensors are your better choice. The method also suits situations where budget constraints prevent sensor purchases but you still need reliable moisture data for decision-making.
The Time and Labor Reality
Let’s be honest about what gravimetric soil moisture testing demands from your operation. While the method delivers highly accurate results, it comes with significant time and labor considerations that deserve careful thought before you commit.
The most immediate challenge is the waiting period. After collecting your soil samples, you’re looking at 24 to 48 hours before you have usable data. Your samples need to be weighed, dried in an oven at 105°C for a full day, then weighed again once completely cooled. During critical periods like germination or flowering, when irrigation decisions can’t wait two days, this delay becomes particularly problematic.
The labor investment is substantial, especially on larger operations. Each sample requires careful collection at the right depth, proper handling to prevent moisture loss during transport, precise weighing, oven monitoring, and final calculations. If you’re running moisture tests across multiple fields or management zones, you could easily spend several hours on the process. For a 500-hectare operation, that’s time pulled away from other pressing farm tasks.
Saskatchewan agronomist Dr. Jennifer Walsh notes that “many farmers underestimate the commitment required for consistent gravimetric testing. It’s not just about one sample – effective moisture management means regular monitoring throughout the season.”
Perhaps the biggest limitation is the inability to provide continuous monitoring. You get a snapshot of soil moisture at one moment, but conditions change rapidly. Between sample collection times, you’re making decisions based on educated guesses rather than current data.
For smaller operations with time flexibility and critical high-value crops, these limitations may be manageable. Larger operations often find the time-to-data ratio challenging, particularly when trying to monitor multiple fields simultaneously during peak irrigation season.
Combining Gravimetric Testing with Modern Sensor Technology
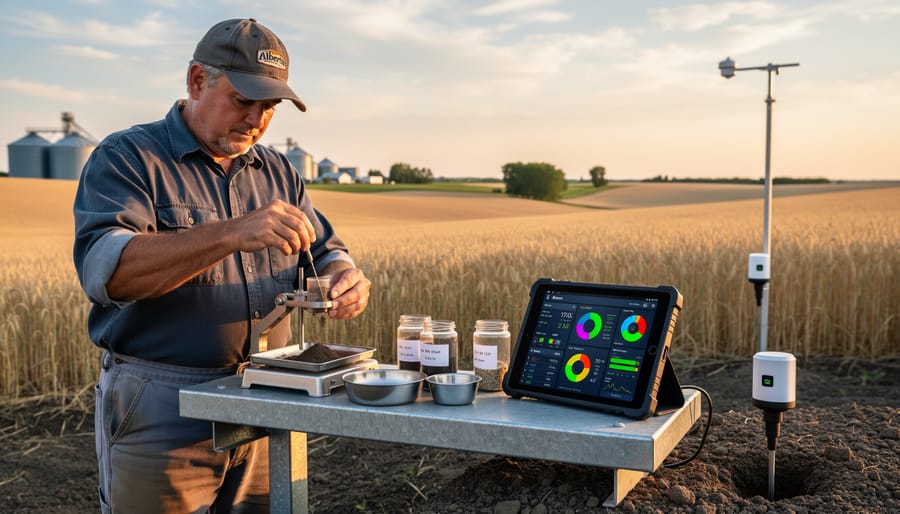
Using Gravimetric Data to Calibrate Your Sensors
Gravimetric measurements serve as the gold standard for verifying your modern sensor technology. Think of it as giving your sensors a tune-up to ensure they’re reading accurately for your specific soil conditions.
Start by taking gravimetric samples at the same locations and depths where your sensors are installed. Compare the gravimetric moisture content with your sensor readings. If there’s a significant difference (more than 3-5%), you’ll need to adjust your sensor’s calibration settings. Most quality sensors allow you to input correction factors based on your soil type.
For Alberta’s diverse soil conditions, ranging from clay loams in the Peace Region to sandy soils in southeastern areas, calibration becomes even more critical. Clay-heavy soils can give falsely high readings due to their electromagnetic properties, while sandy soils may read lower than actual moisture levels.
How often should you calibrate? During your first season, check monthly to establish confidence in your system. After that, twice per season is typically sufficient – once in spring and again mid-summer. Always recalibrate if you notice irrigation decisions based on sensor data aren’t matching field conditions.
John Martinez, a precision agriculture specialist from Lethbridge, recommends keeping a simple log: “Record your gravimetric results alongside sensor readings. Over time, you’ll develop site-specific correction factors that make your sensors incredibly accurate for your unique farm conditions.”
Building a Hybrid Monitoring System
You don’t need to choose between high-tech sensors and gravimetric testing. The smartest approach combines both methods, creating a hybrid monitoring system that gives you reliable data without breaking the bank.
Here’s how it works: Use soil moisture sensors to track daily trends and irrigation timing across your fields. These provide the real-time information you need for immediate decisions. Then, conduct gravimetric tests every two to three weeks during the growing season to verify your sensor readings are accurate. Think of gravimetric testing as your quality control checkpoint.
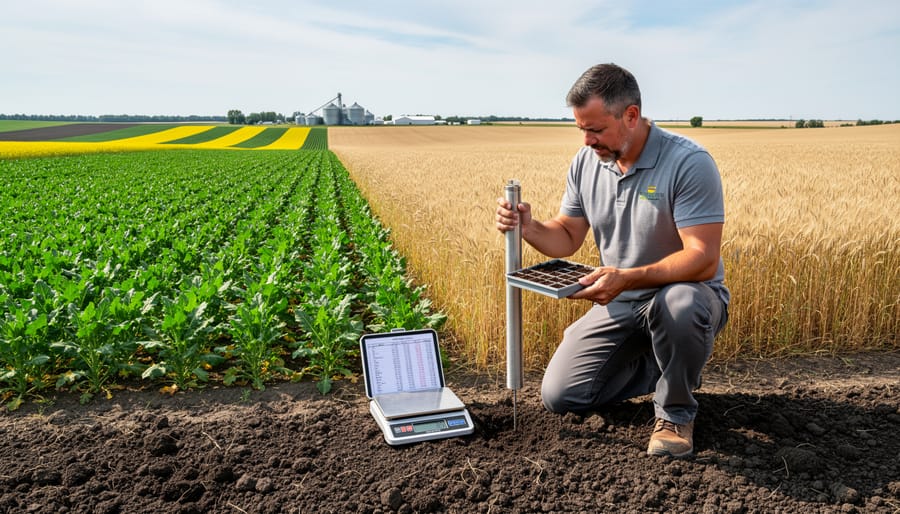
For budget-conscious operations, start small. Install one or two sensors in representative field locations and perform gravimetric tests at those same spots plus three to four additional sites. This gives you sensor convenience where it matters most, while gravimetric sampling fills in the gaps across varied soil types or topography.
Alberta farmer James McKenzie from Lethbridge takes this approach on his 400-hectare operation. “I have sensors on my pivot irrigation zones, but I do gravimetric samples on my corners and dry spots every couple weeks,” he explains. “It costs me maybe two hours of labour, but I’ve caught sensor drift twice now. Saved me from over-watering one zone and under-watering another.”
Larger operations might invest in sensor networks across multiple fields, using monthly gravimetric testing to calibrate equipment and train staff. Smaller farms can flip this ratio, relying primarily on gravimetric methods with one or two strategically placed sensors for continuous monitoring during critical growth stages.
Real Results from Alberta Farms
When Trevor Morrison first started using gravimetric soil moisture testing on his 2,400-hectare operation near Lethbridge, he wasn’t sure the extra effort would pay off. Three growing seasons later, the results speak for themselves.
“We were over-irrigating by about 20 percent in some fields,” Morrison explains. “The gravimetric testing showed us exactly where we were wasting water and energy. That first year alone, we cut irrigation costs by $18,000 while maintaining our potato yields.”
Morrison’s experience mirrors findings from a five-year study conducted at the Lethbridge Research and Development Centre. Dr. Sarah Chen, the lead soil scientist on the project, tested gravimetric methods alongside electronic sensors across multiple crop types common to southern Alberta.
“What surprised us was how accurately farmers could make irrigation decisions using gravimetric testing every 7 to 10 days,” Dr. Chen notes. “We found that strategic gravimetric sampling, even without continuous monitoring, gave producers actionable data that translated to measurable water savings.”
The research station documented an average water reduction of 15 to 25 percent across participating farms, with no yield penalties when irrigation schedules were adjusted based on gravimetric data. For water-intensive crops like potatoes and sugar beets, this translated to significant cost savings.
Morrison’s approach combines simplicity with consistency. He collects samples from predetermined locations in each field at the same depth every week during the growing season. His initial investment was minimal: a soil probe, a basic scale accurate to 0.1 grams, aluminum tins, and a standard oven borrowed from his farm shop.
“The testing takes maybe two hours a week total, and my son helps with the oven monitoring,” Morrison says. “Compare that to the $15,000 quote we got for a full electronic sensor system. We’ll probably upgrade eventually, but gravimetric testing got us managing moisture properly right away.”
The most valuable lesson Morrison learned was patience. “The first season, I didn’t trust the numbers when they told me to hold off on irrigation. I watered anyway out of habit. By season two, I had confidence in the data, and that’s when we saw the real savings.”
Dr. Chen emphasizes that success requires consistency: “Farmers who sample the same spots, same depths, and same timing get reliable trends they can actually use for decisions. That’s the key to making gravimetric testing work practically.”
Gravimetric soil moisture measurement isn’t just another agricultural technique—it’s your foundation for making confident water management decisions. While technology continues to advance and digital sensors become more sophisticated, understanding this gold standard method puts you firmly in control of your precision agriculture strategy.
Start simple. Take a few samples from different areas of your field this week. Weigh them, dry them, and calculate the difference. You’ll begin to see patterns in how your soil holds and releases water, knowledge that directly translates into better irrigation timing and improved crop health. This hands-on understanding helps you interpret data from expensive sensors more effectively and catches calibration issues before they cost you money.
Remember, every successful Alberta farmer we’ve spoken with emphasizes the same point: knowing your soil is knowing your farm. Whether you’re managing 200 or 2,000 hectares, gravimetric measurements give you baseline data you can trust completely.
You’re not alone in this journey. Agricultural extension services across Alberta offer workshops and support for soil testing methods. Your local farming community is full of neighbours who’ve walked this path and are willing to share their experiences. Take that first step today—grab a soil sample, fire up your oven, and discover what your land is telling you. The insights you gain will pay dividends for seasons to come.